Email Parser by FlowMattic
The Email Parser module analyses incoming emails’ content and identifies specific data pieces, such as names, addresses, phone numbers, and dates. In the context of the Email Parser module that provides data such as Basic Email and Email with file attachments, users can configure the parser to identify and extract specific information. This allows for the efficient and accurate processing of incoming emails, enabling businesses and organizations to streamline their workflows and improve productivity.
One of the primary benefits of the Email Parser module is that it can be integrated with other systems and software, such as CRMs, ERPs, and project management tools. This allows users to automatically transfer data from emails to other systems without manual entry.
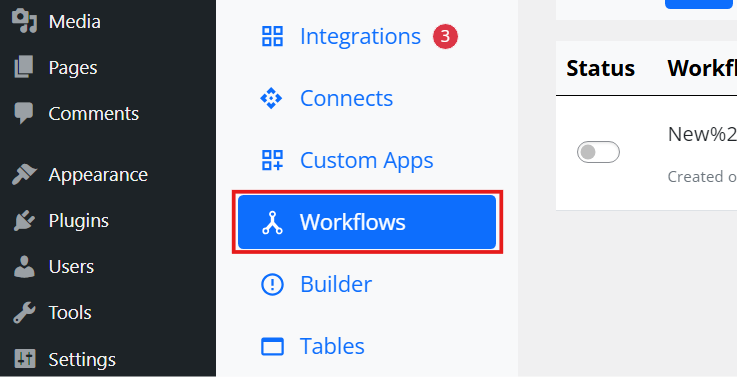
Step 1: Login to your FlowMattic Account
To create a new workflow on FlowMattic in WordPress, you need to first log in to your FlowMattic account and navigate to the “Dashboard”. Once in the “Dashboard”, you can select the “New Workflow” button to begin creating your new workflow…
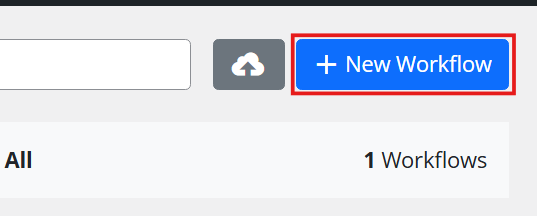
Then, click on New Workflow
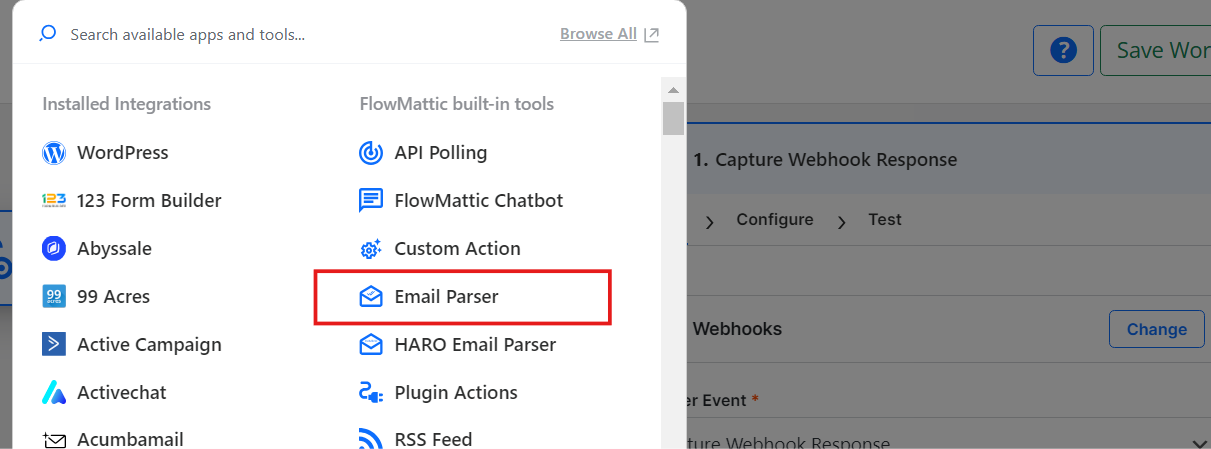
Step 2 - Click on Change
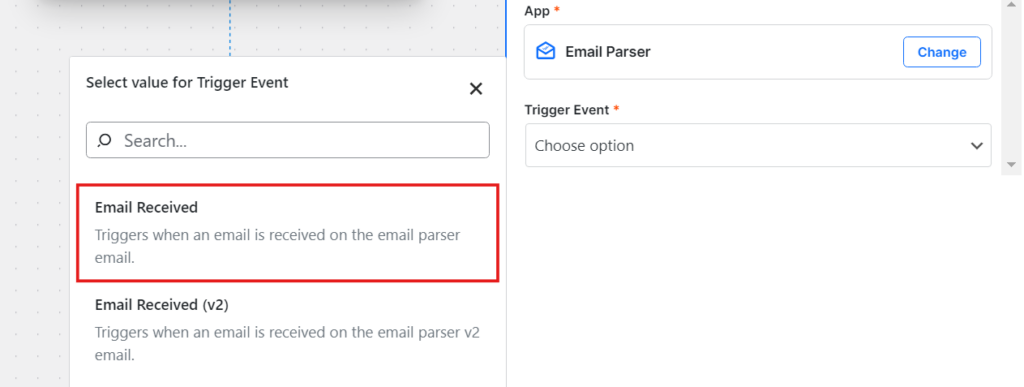
Click on the “Change” button and select “Email Parser by FlowMattic” from the list of available applications. The Email Parser module would be a pre-built module that can be selected as the trigger for our workflow. This module would be designed to parse incoming emails and extract specific data that can be used to trigger the workflow.
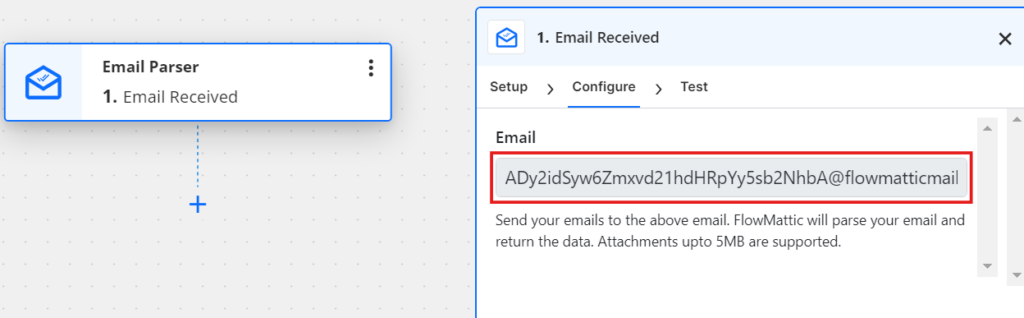
Step 3 - Copy the provided email address in the trigger settings and use it to forward your emails
In FlowMattic, you will be provided with an email address to which you can forward emails you want to trigger the workflow. This email address would be copied and used to forward relevant emails.
Step 4 - Send a test email to the above email address
To test the workflow, you must send a test email to the email address in step 3. This would allow you to verify that the email parser module works correctly and that the workflow will be triggered as expected.
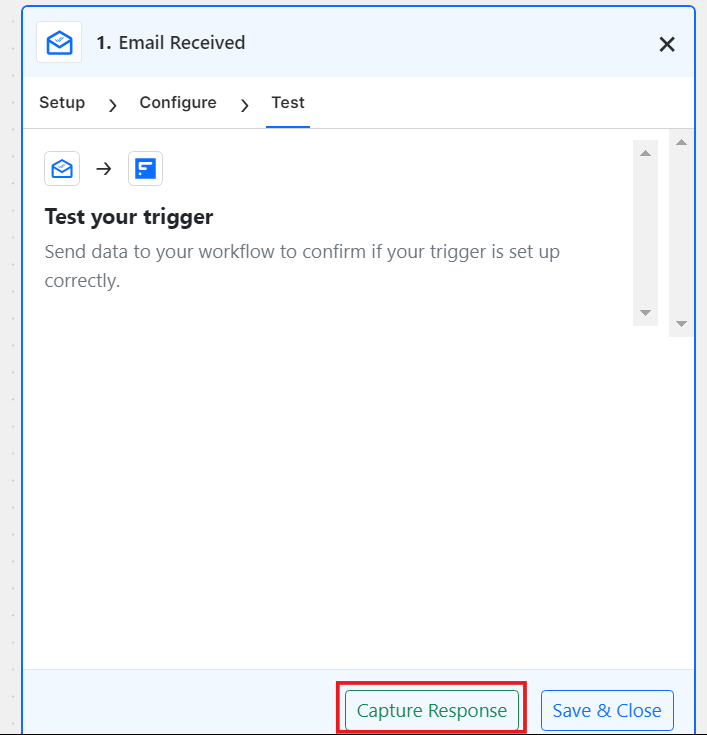
Step 5 - Click on the capture response button
Once the Email Parser trigger is set up and you get your custom email, click on the “Capture Response” button in your trigger step to capture the test email so that you can identify the incoming data from your emails.
Step 6 - Set workflow LIVE and save it once
Finally, the user must set the workflow to “live” and save it in FlowMattic. This would ensure that the workflow is executed automatically whenever an email is received and parsed by the email parser module and that the actions defined in step 6 are carried out according to the requirements of the workflow.

Conclusion
The Email Parser module is a powerful tool that can help businesses streamline workflows and improve efficiency by automating the extraction of essential data from incoming emails. Its integration capabilities and customizable rules suit various industries and use cases. By following these steps and tips, you can use the module effectively and optimize its benefits.
