How to Use Nuelink with FlowMattic?
Nuelink helps you plan, automate, and manage your social media and saves you time to focus on your business while your social media runs itself. Connect hundreds of applications and add quality content to your Nuelink collections using Nuelink with FlowMattic.
Here’s an in-depth tutorial about how you can set up the Nuelink workflow in FlowMattic and get the most out of your apps by automating the process.
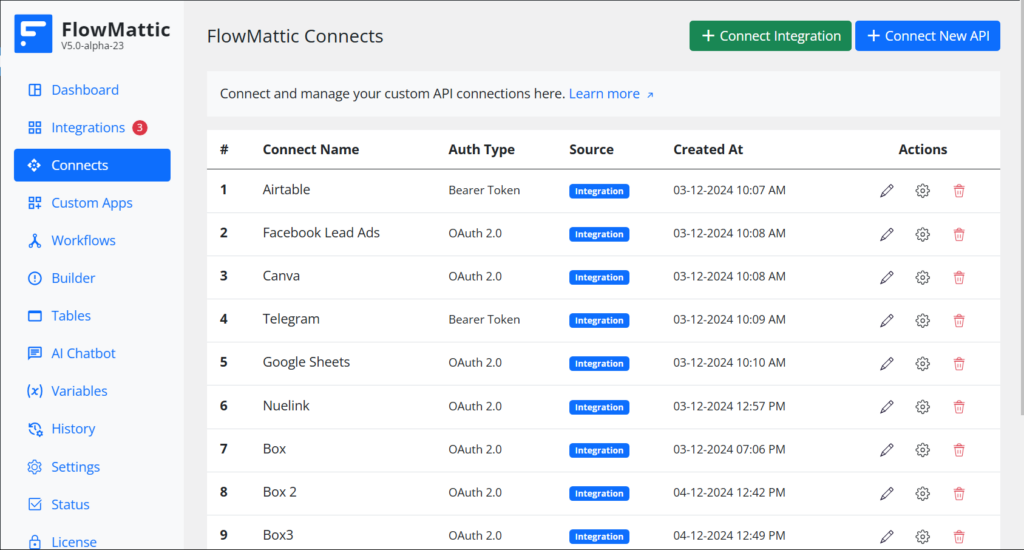
1. Go to FlowMattic > Connects
From the FlowMattic admin menu, click on the Connects.
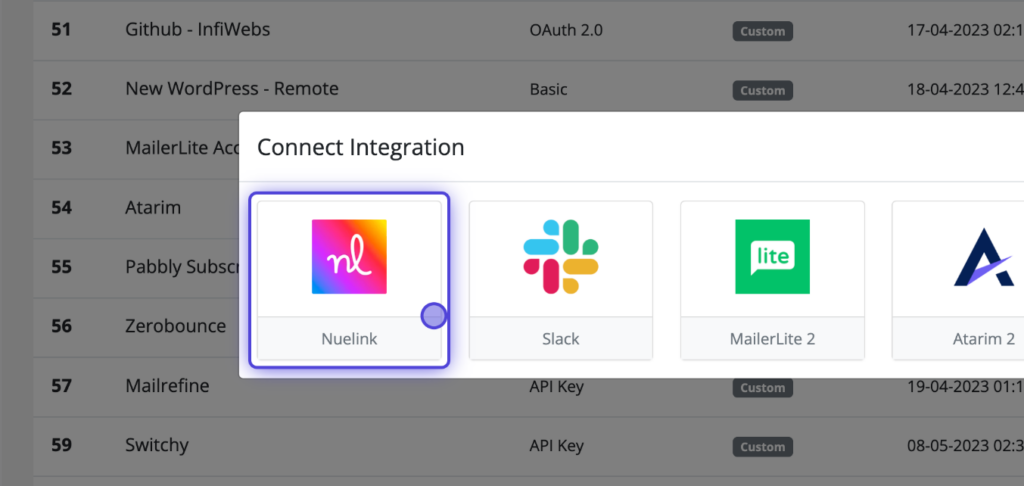
2. Click on Connect Integration
While you’re on the Connects admin screen, click on the Connect Integration button. It will open a popup and display all the apps available to be connected.

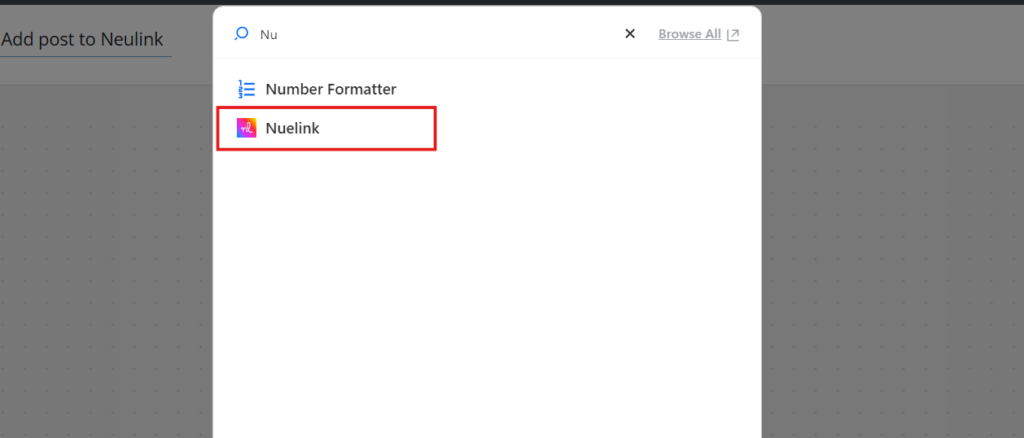
3. Click on Nuelink
Choose the Nuelink integration for authentication.
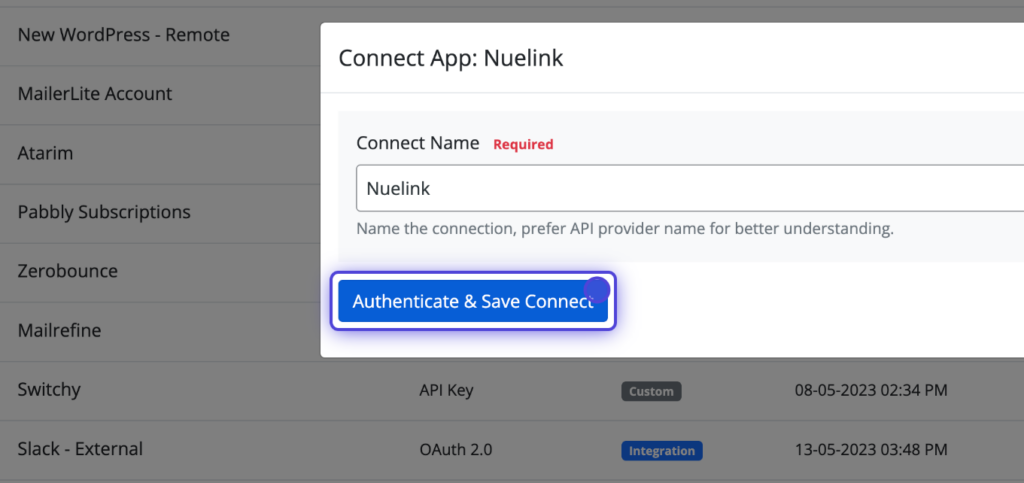
4. Click on Authenticate & Save Connect
Once the Nuelink Connect app popup opens, it will ask you to enter a Connect Name. If you’re going to connect multiple Nuelink accounts, name each connection for better understanding. Then, click on the Authenticate and Save Connect button. Your connection will be saved first, and then you will be redirected to the authentication at Nuelink.
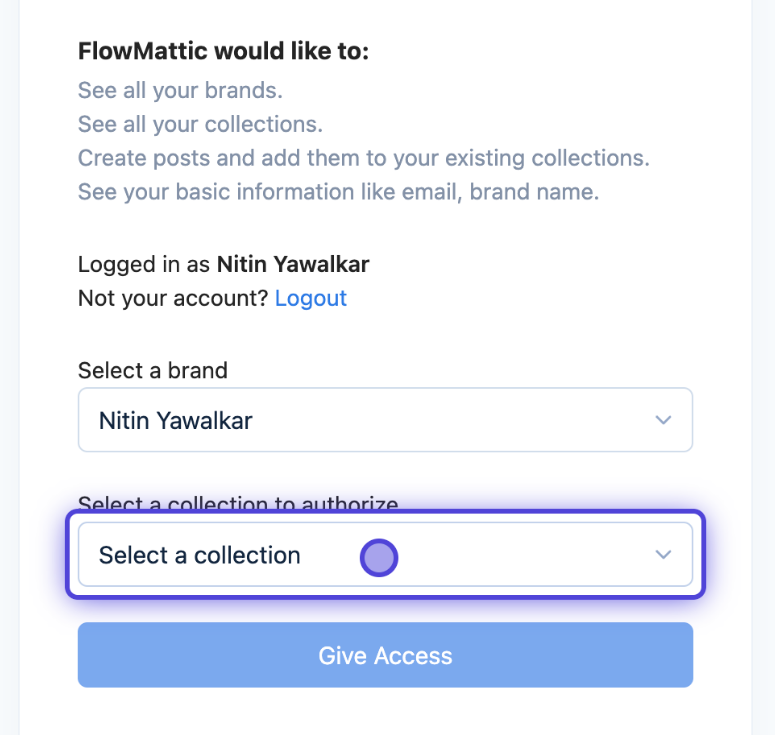
5. Click on Select a collection
Choose the collection you want to add posts to, and click on the Give Access button below. Your selected collection name will be appended to the button.
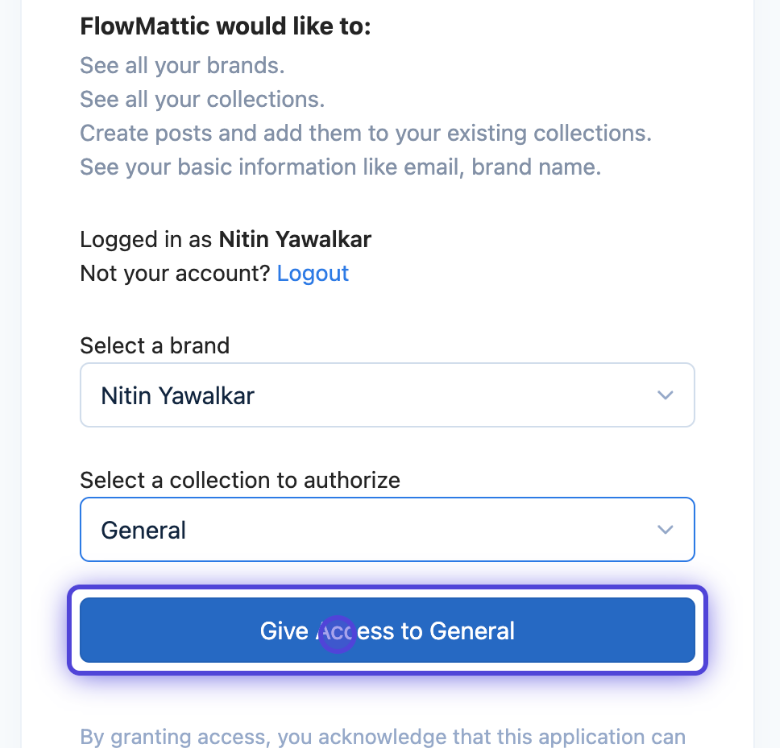
6. Click on Give Access to General
Considering you selected the Collection named “General”, the button is now renamed to “Give Access to General”. Just click on that button, and you will be redirected back to your site.
Working with FlowMattic Workflow Editor
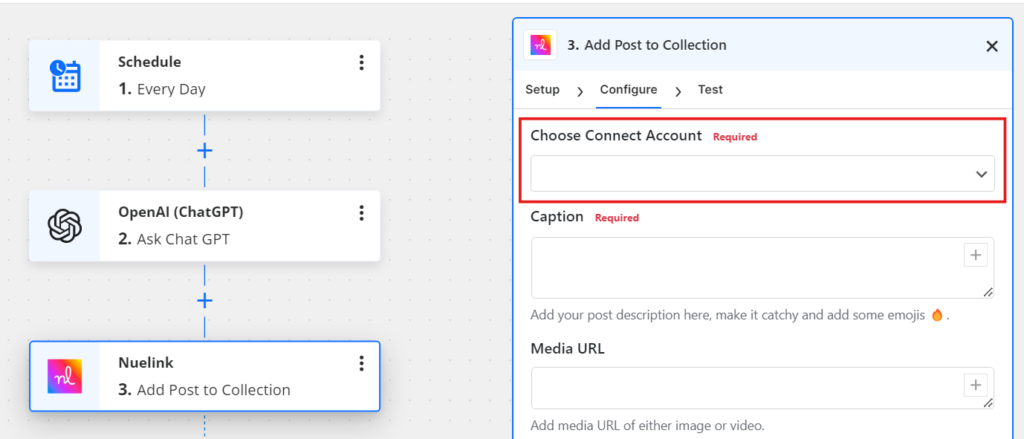
1. Create a new workflow for Nuelink
Let’s assume you want to get new quotes from ChatGPT every morning at 9:00 and add them to the Nuelink collection, this workflow will help. We used the trigger as a Schedule module and have set the time to morning 9:00
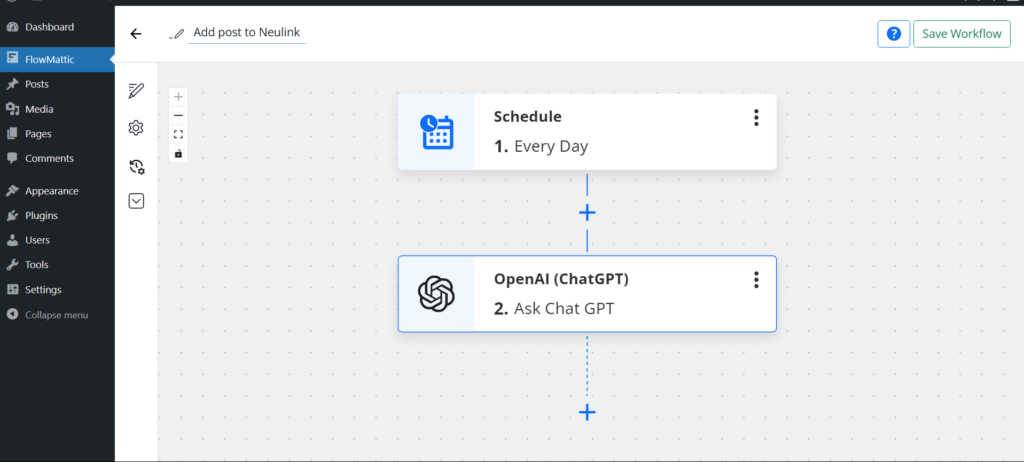
2. Add a new action for Nuelink
Click on the + button to add a new action step. You will be presented with a nice highlighted action step that allows you to choose your application you want to perform action on.
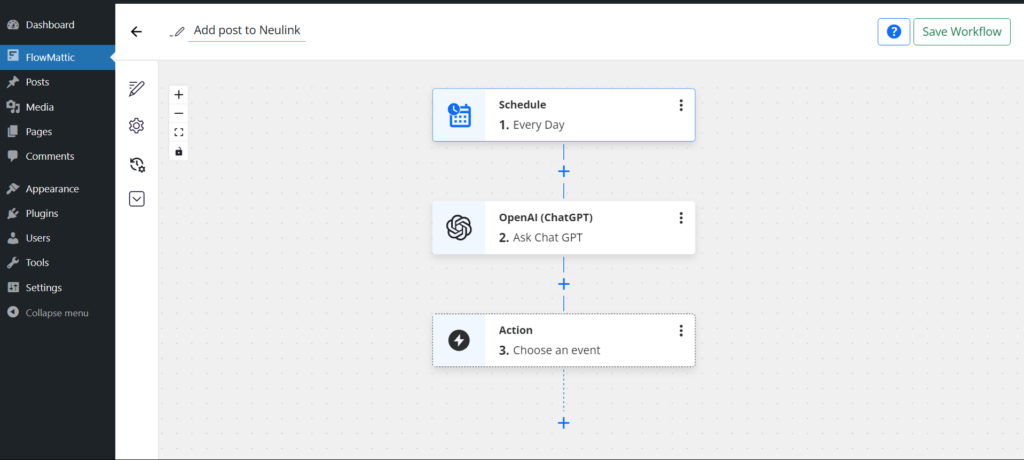
3. Insert the Nuelink Integration
Click on the Action step and Search for the Nuelink integration. You will see the sorted list while you type in, and finally, the Nuelink app will be displayed. Just click the app icon and it will be set as the action app.
Configure the options
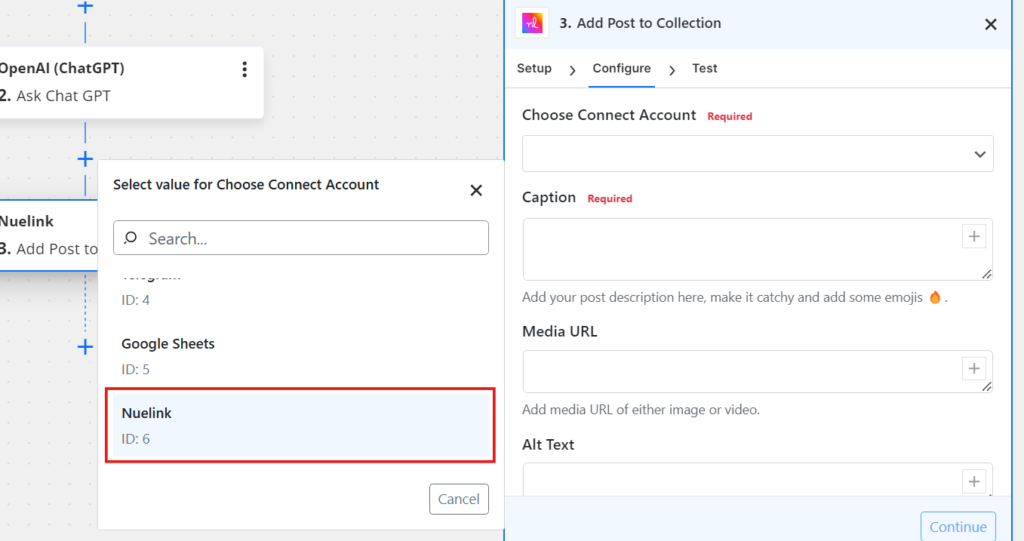
4. Choose Connect
We need to choose the connection we created previously by authorizing the Nuelink account. Just click on the Choose Connect dropdown, it will display the list of available connects.
5. Search and Select Nuelink Connect
Type the Nuelink connect name we used while creating the connect, and select it. Now, every time this action step is executed, the authorization details from this connection will be used to connect to the Nuelink account.
6. Enter the Caption
Caption is a required field. You must provide the caption, which is the body text for your social media post.
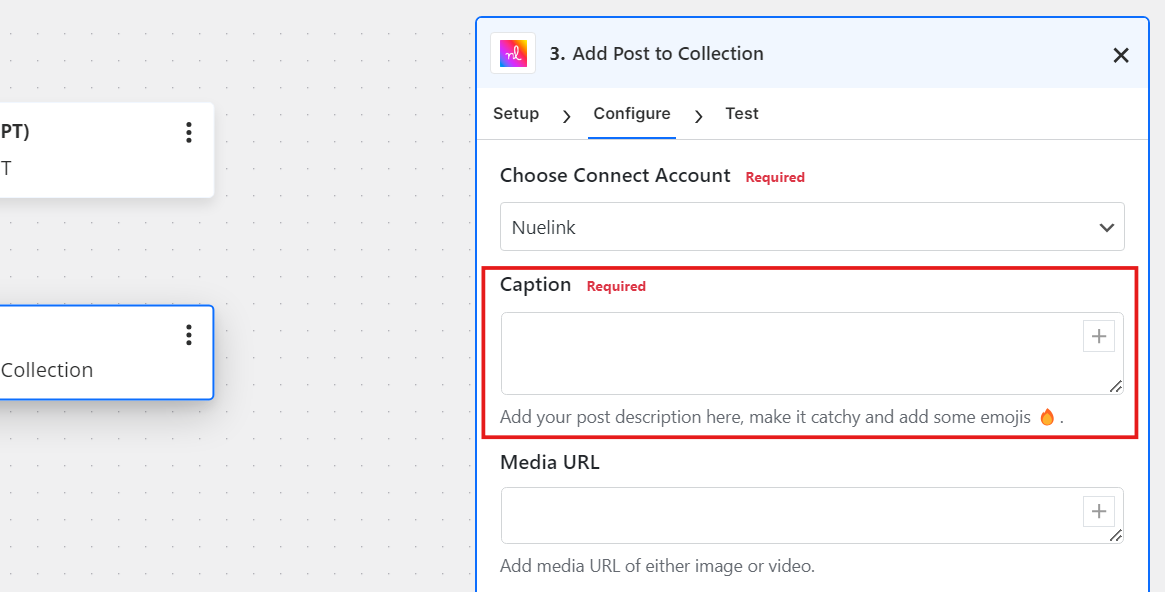
7. Provide Media URL
If you want to display the image or video in your post, just provide the appropriate file URL. FlowMattic will automatically detect the file type and set it accordingly in the Nuelink post.

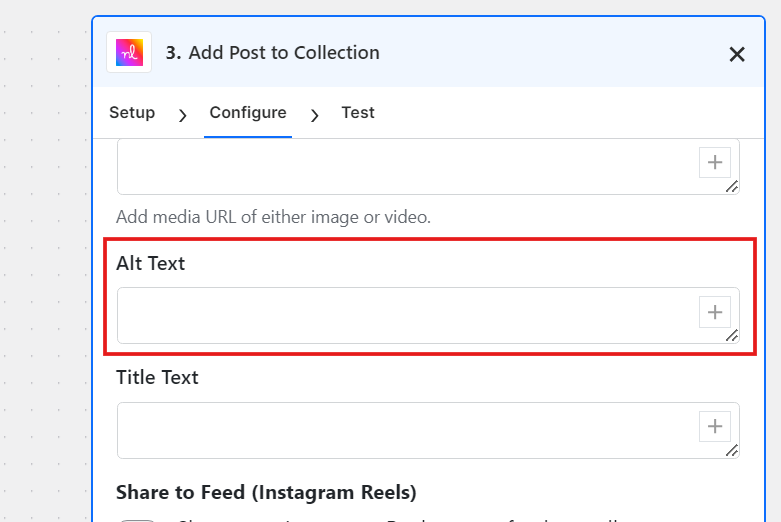
8. Enter Alt Text
Refer the Nuelink documentation to see how the Alt Text works.
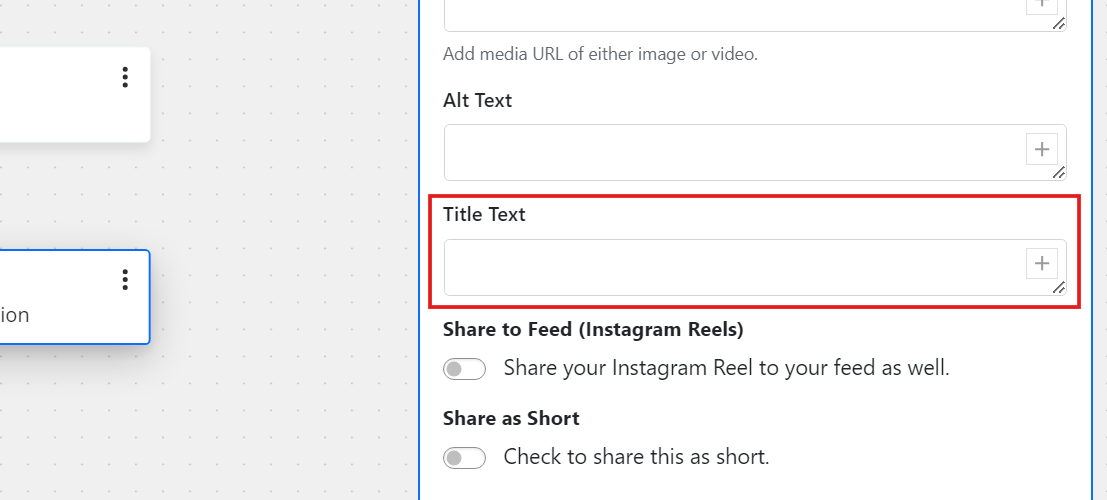
9. Provide Title Text
Refer the Nuelink documentation to see how the Title Text works.
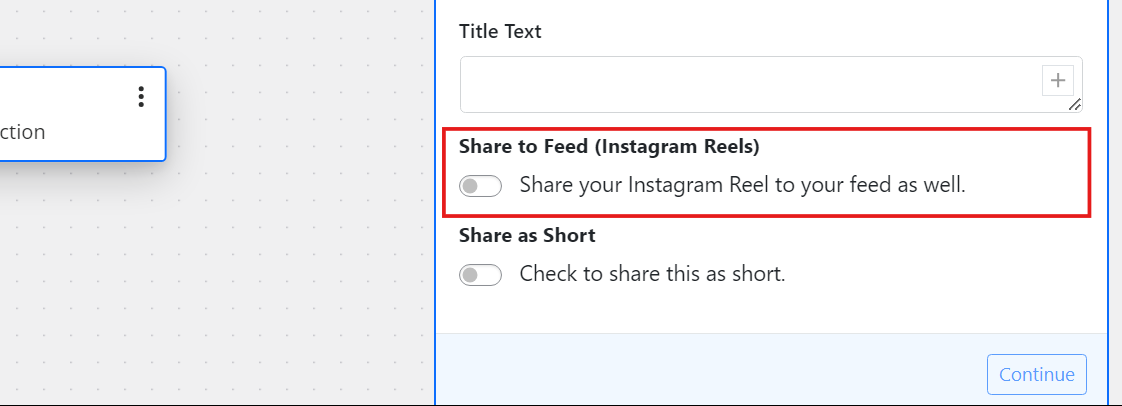
10. Set Share to Feed (Instagram Reels)
If you want to set this post to be shared to your Instagram feed, turn this option ON.
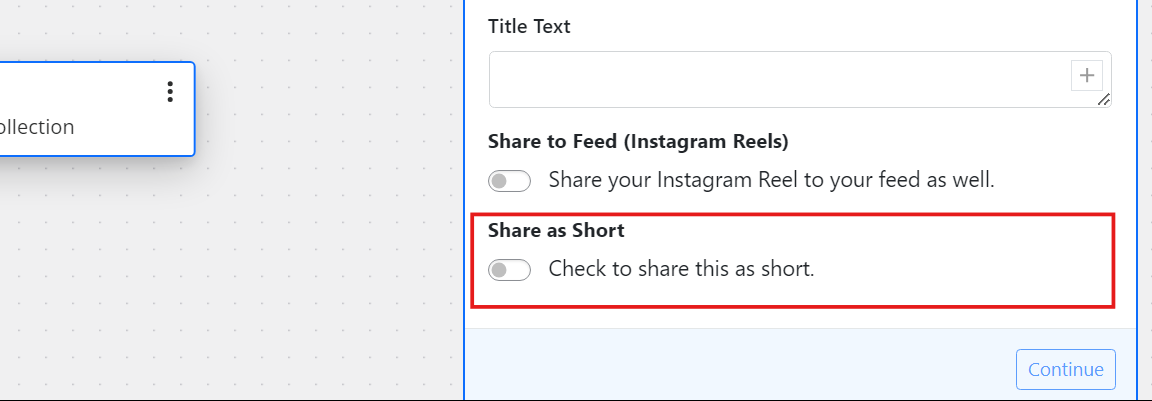
11. Set Share as Short
If the post is for video, you can set to create shorts from it and share on your social media accounts connected to your Nuelink account.
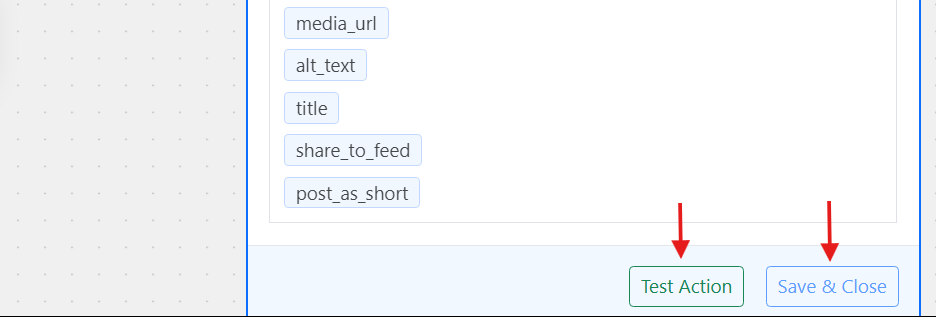
12. Text Action and Save & Close
After setting up the required options, click the “Test Action” button to perform a live test with the data you have entered. To confirm that the workflow is working, verify that the new post appears in your Nuelink collection. Then click “Save and Close.”