How to use Box with FlowMattic
Box empowers your teams by making it easy to work with people inside and outside your organization, protect your valuable content, and connect all your apps.
Here’s an in-depth tutorial about how you can set up the Box workflow in FlowMattic and get the most out of your apps by automating the process.
Authenticating Box account in FlowMattic
You will learn how to connect your Box account using the FlowMattic connects. Once you connect your account in connects, you can use it in any number of workflows, or even in the API module as well, that allows you to connect with the APIs that are not yet covered in the integration.
1. Go to FlowMattic > Connects
From the FlowMattic admin menu, click on the Connects.
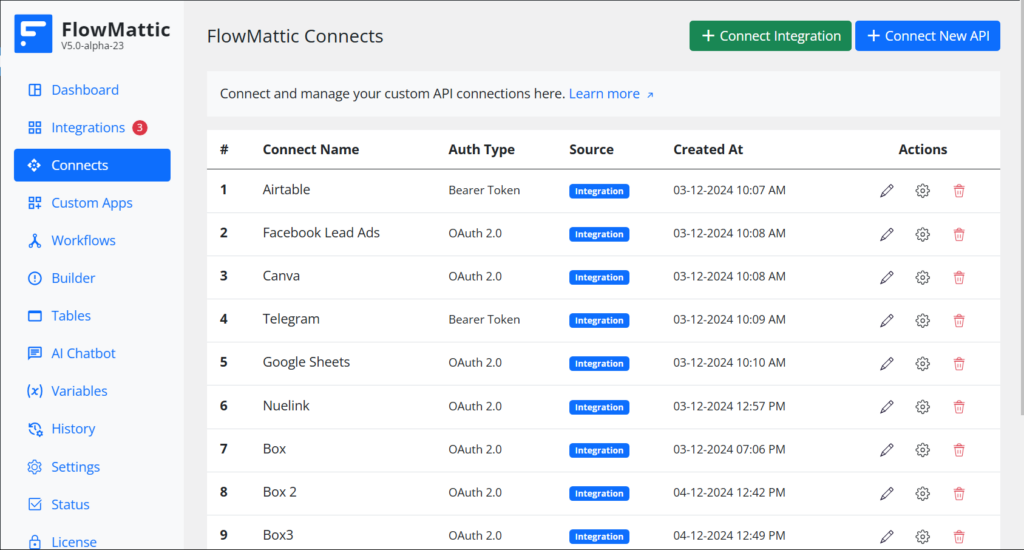
2. Click on Connect Integration
While you’re on the Connects admin screen, click on the Connect Integration button. It will open a popup and display all the apps available to be connected.

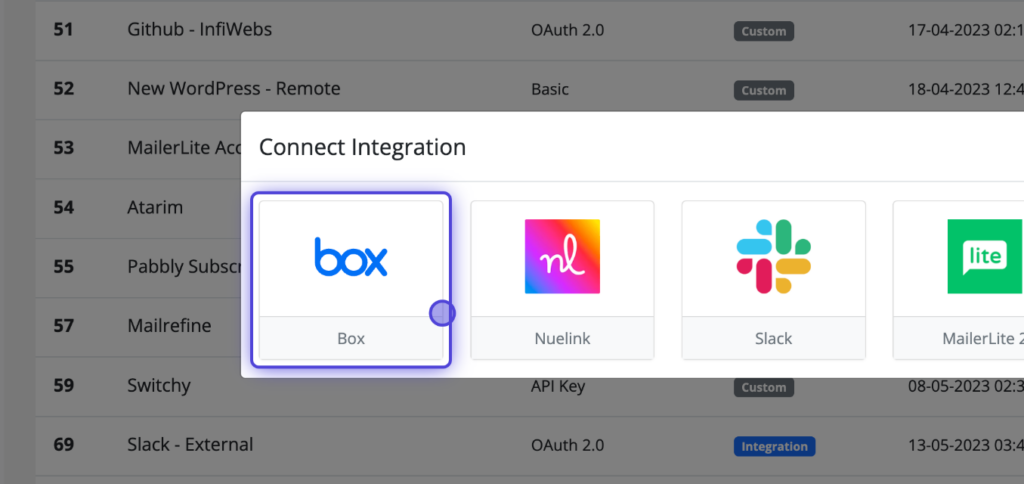
3. Click on Box
Choose the Box integration for authentication.
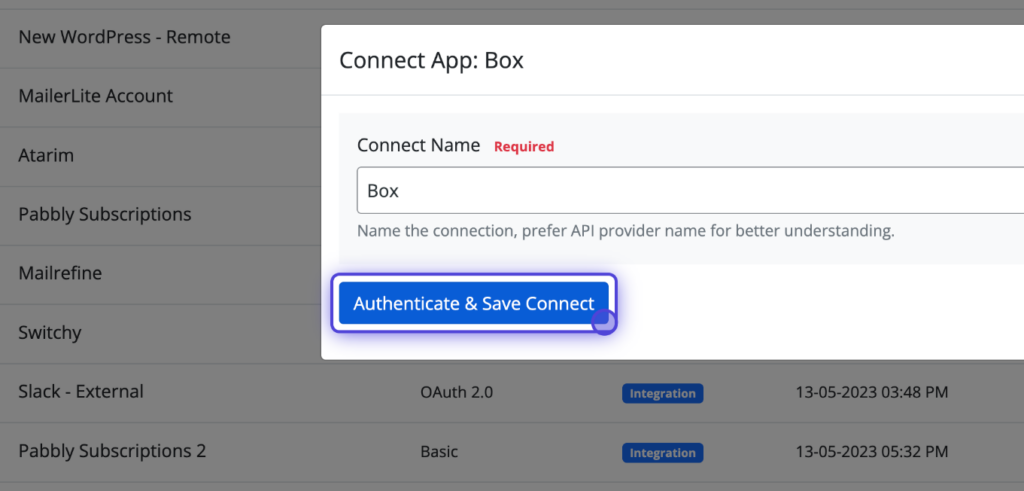
4. Click on Authenticate & Save Connect
Once the Box Connect app popup opens, it will ask you to enter a Connect Name. If you’re going to connect multiple Box accounts, name each connection for better understanding. Then, click on the Authenticate and Save Connect button. Your connection will be saved first, and then you will be redirected to the authentication at Box.
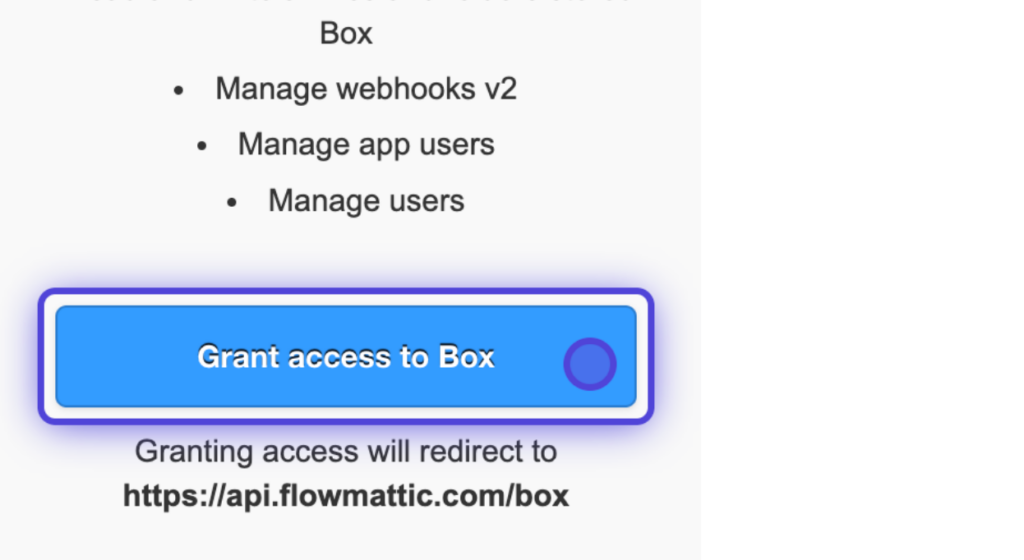
5. Click on Grant access to Box
You will be redirected to the Box authentication screen if you’re logged in. You just need to click on the “Grant access to Box” button and the authentication will be successful.
Configuring Box triggers
You will learn how to configure the Box triggers.
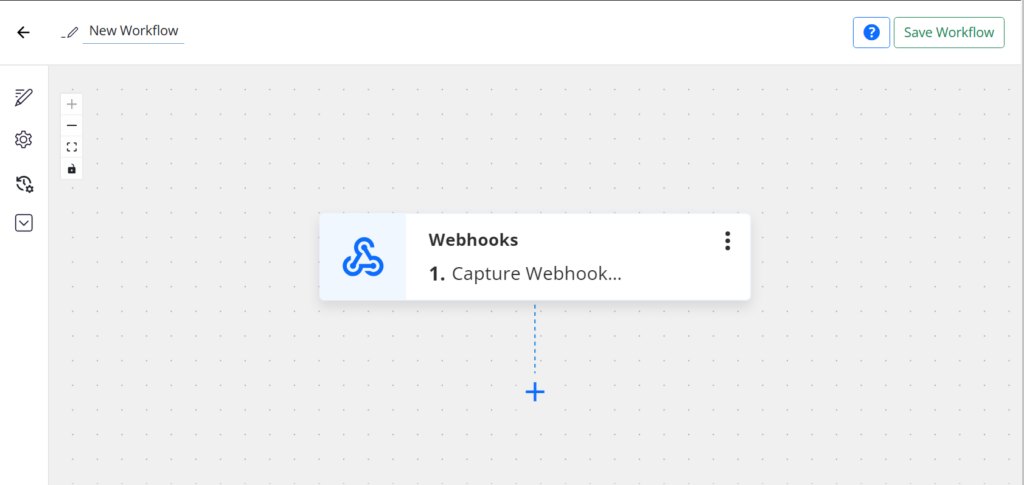
1. Create a new workflow
To get started with configuring triggers, create a new workflow from your FlowMattic dashboard.
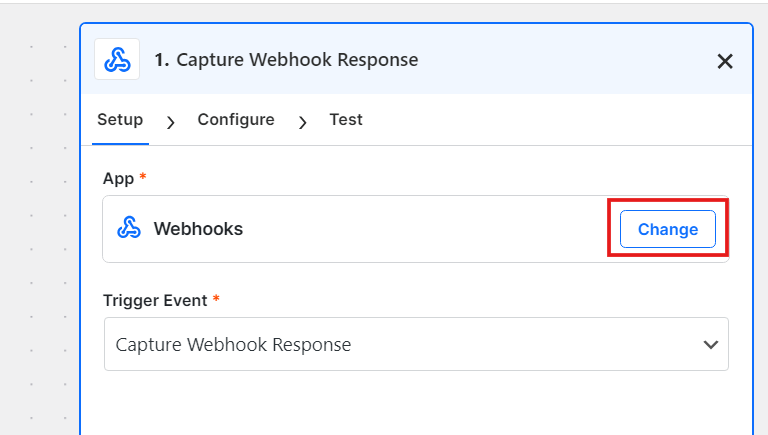
2. Click on the Change button
Click on the change button. It will open up the window with all the available integrations.
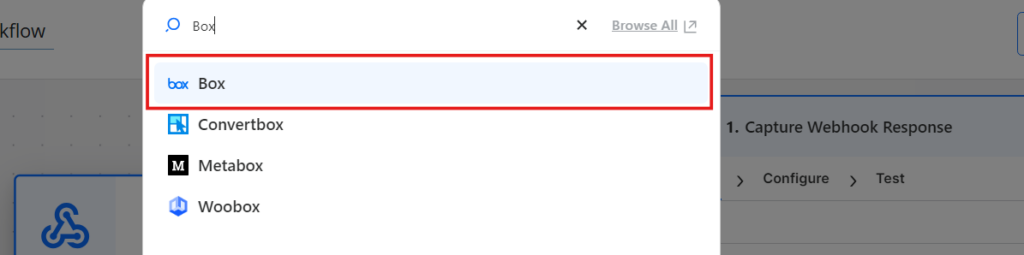
3. Insert the Box Integration
Search for the Box integration. You will see the sorted list while you type in, and finally, the Box app will be displayed. Just click the app icon and it will be set as the action app.
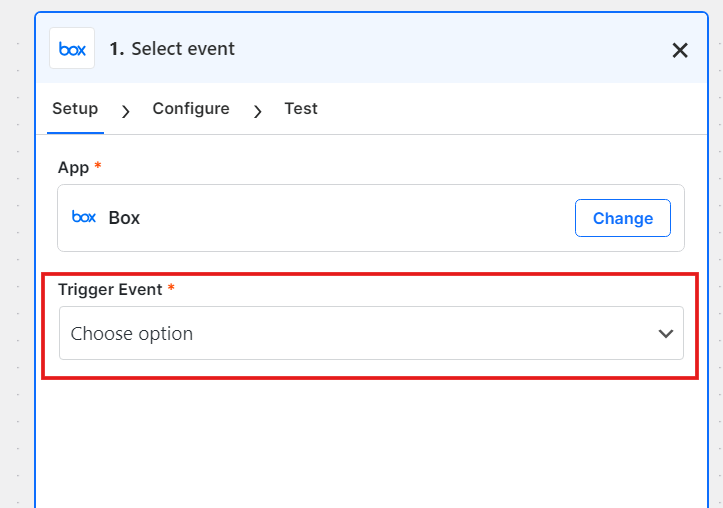
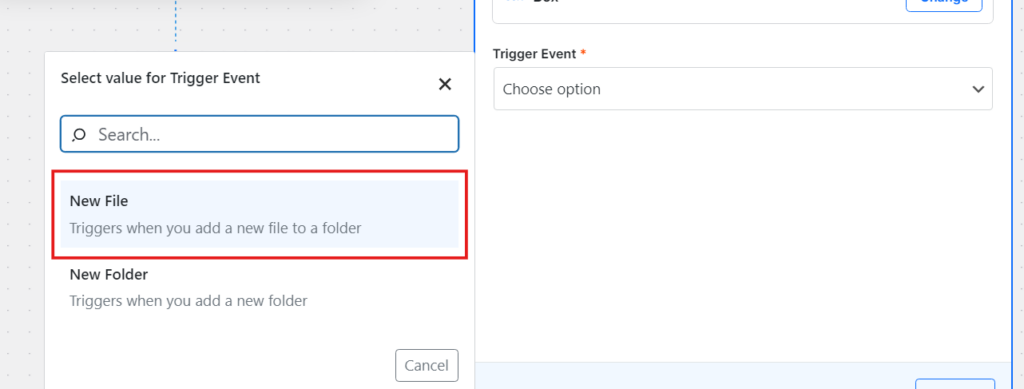
4. Choose the trigger event
Box integration provides you with various triggers. Choose the one that you want to get the data in after this event is happened in your Box account.
5. Choose New File Action
We will use the New File trigger for this example.
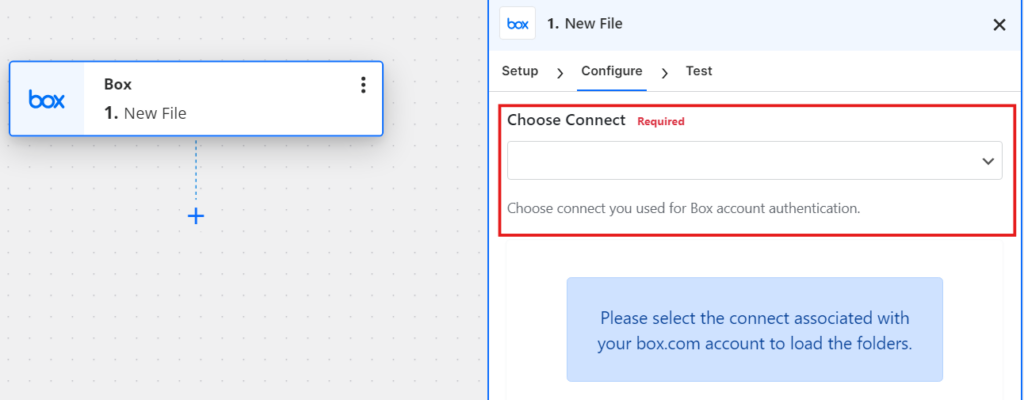
6. Click on Choose Connect
The next step is to set the Connect for authenticating the API connections. Click on the Choose Connect dropdown, it will display all your available connects.
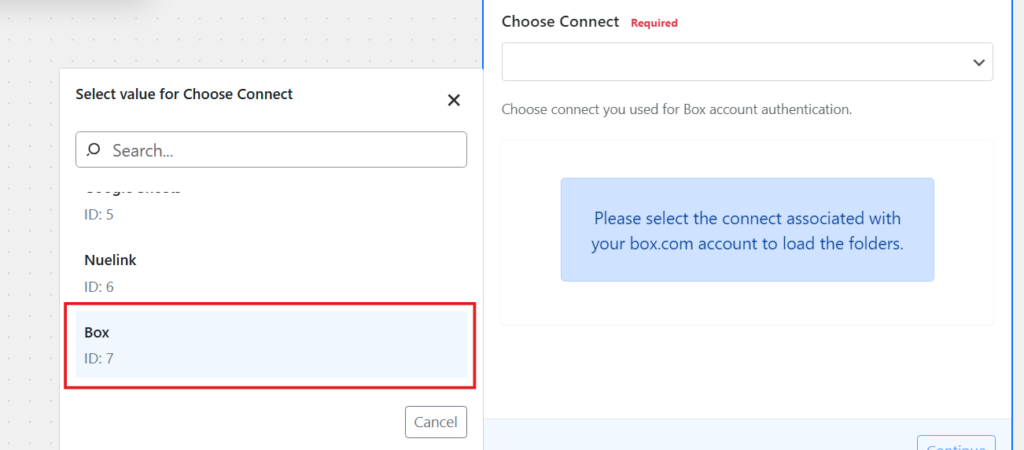
7. Choose the Box Connect
Search for the connect of your Box account, and choose it from the dropdown. It will be used to authenticate the API connections for this trigger.
8. Click on Choose folder to monitor
Box triggers require the entity to monitor. In this case, we need to provide the Folder to monitor for new files. As soon a new file is added to this folder, Box will send the data to your workflow.
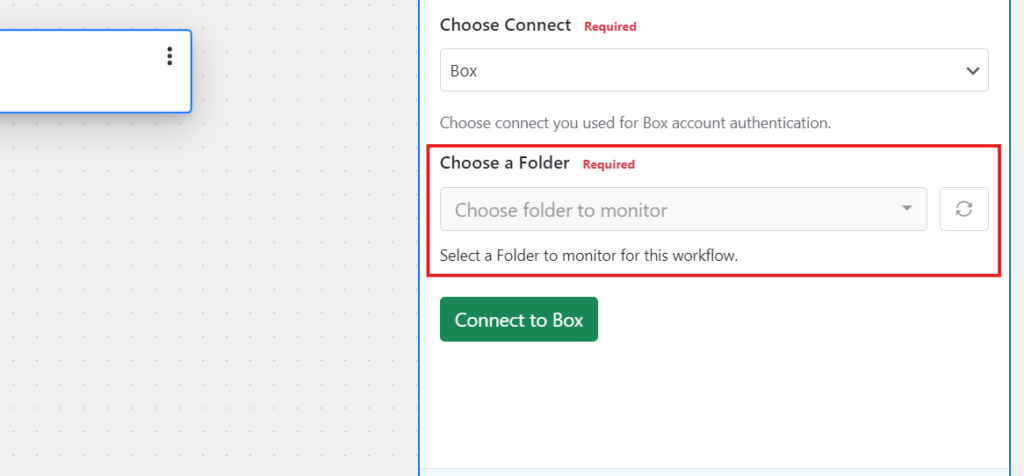
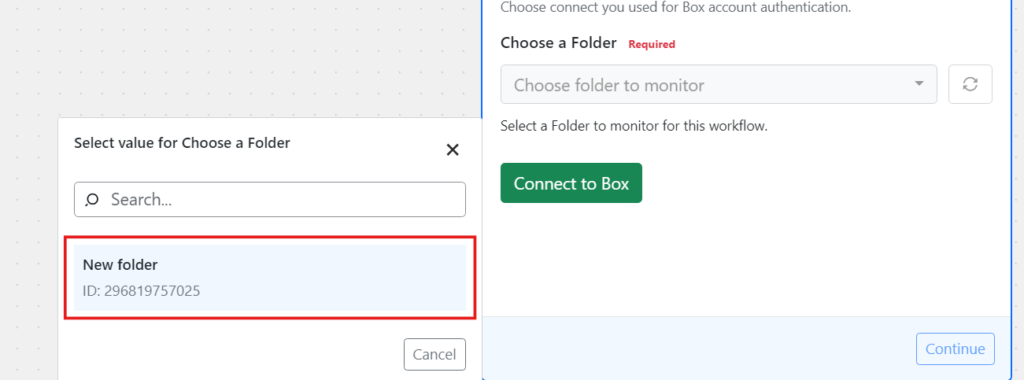
9. Choose your preferred folder
Once you click on the Choose Folder dropdown, you will get the list of folders. Choose the once you want to monitor for this workflow.
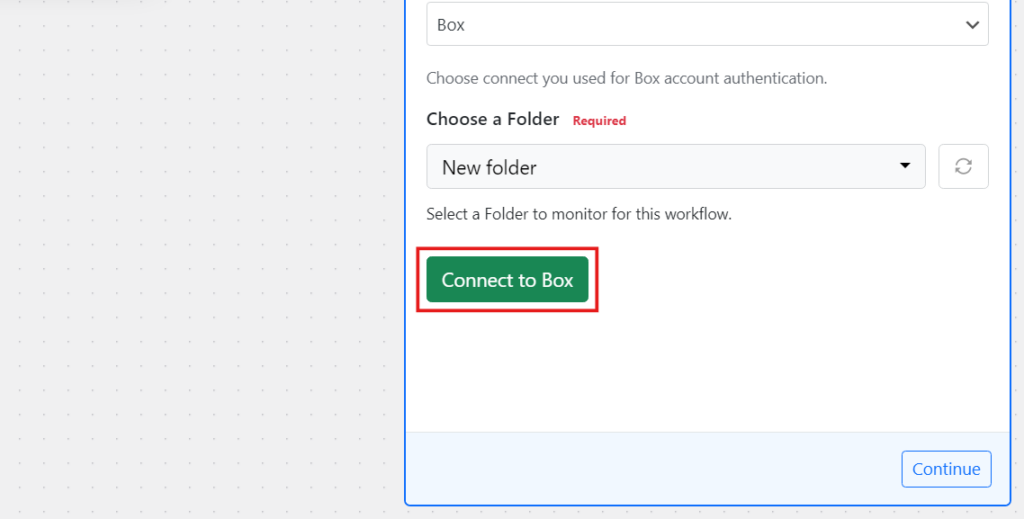
10. Click on Connect to Box
The final step in configuring the trigger is to connect this workflow with your Box account. To do so, click on the “Connect to Box” button. It will register this workflow for the folder you choose to monitor.
Adding and Configuring Action Steps
We will see how to add and configure the action steps for Box.
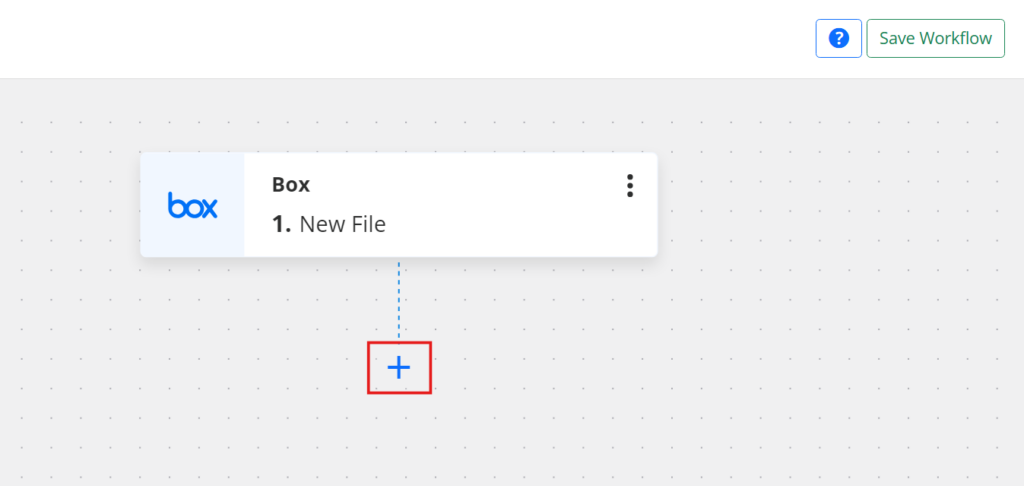
1. Add new action step
Click on the + icon after the trigger step to add a new action step.
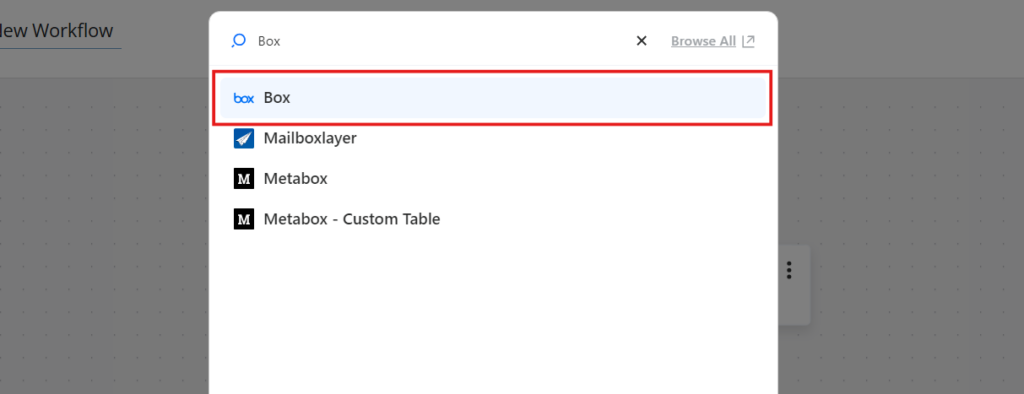
2. Click on Box to use the app
Type “Box” in the search field to find the Box application. Once it appears, simply click on it to select it for the action step.
3. Choose an action event
The next step is to set the action event. The Box app provides different action events. Choose the one you want to perform in the action step and click the “Continue” button.

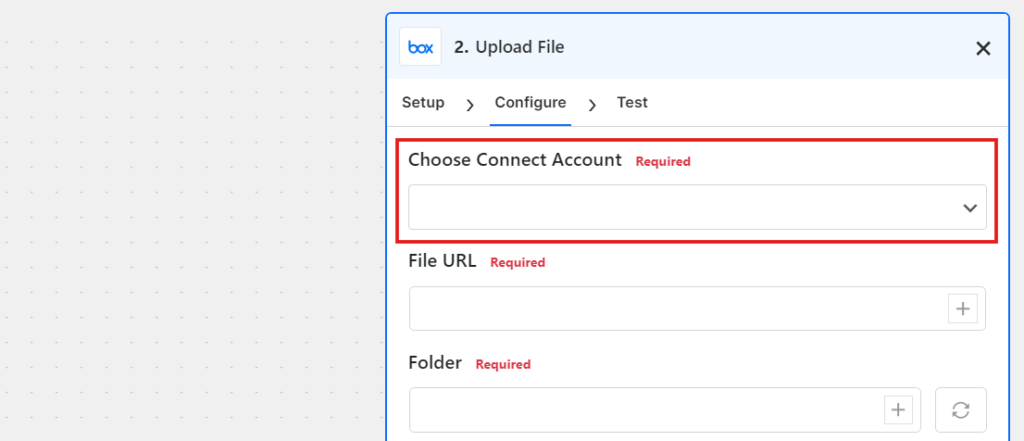
4. Click on Choose Connect
The next step is to set the Connect for authenticating the API connections. Click on the Choose Connect dropdown, it will display all your available connects
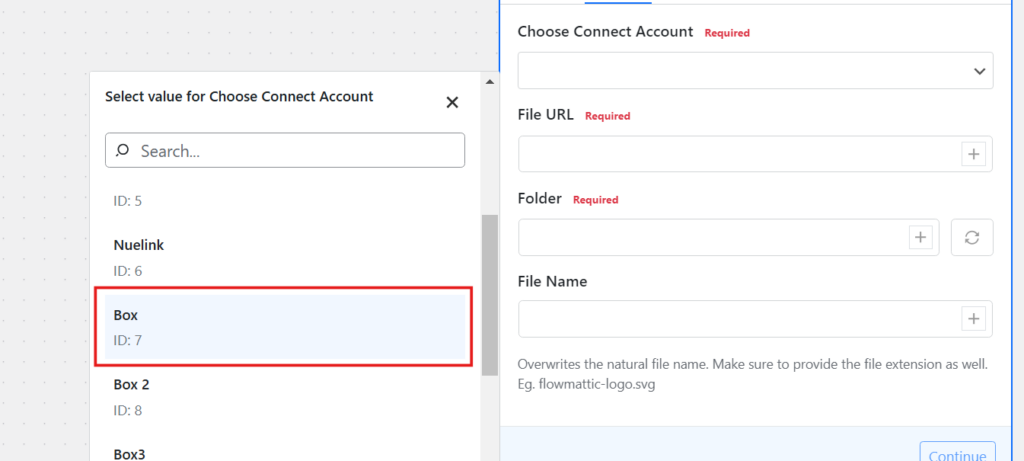
5. Choose the Box Connect
Search for the connect of your Box account, and choose it from the dropdown. It will be used to authenticate the API connections for this action step.
6. Text Action and Save & Close
After setting up the required options, click the “Test Action” button to perform a live test with the data you have entered. To confirm that the workflow is working, verify that the new post appears in your Nuelink collection. Then click “Save and Close.”

