How to Use Fusioo with FlowMattic?
Fusioo helps growing businesses get organized. Create your custom online database and manage everything in one place. Use FlowMattic to automate the database record insertion operations, sit back and relax!
Creating Connect for Fusioo Integration
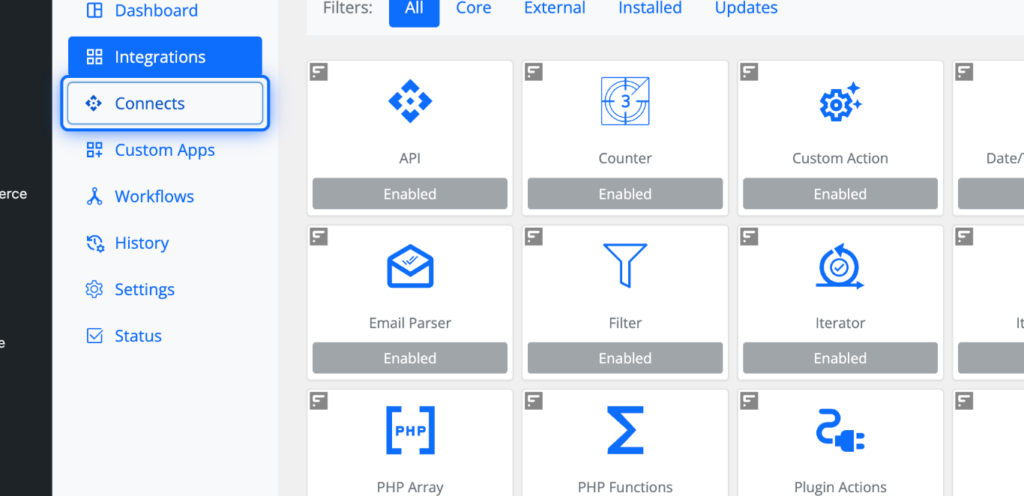
1. Go to FlowMattic > Connects
From the FlowMattic admin menu, click on the Connects.
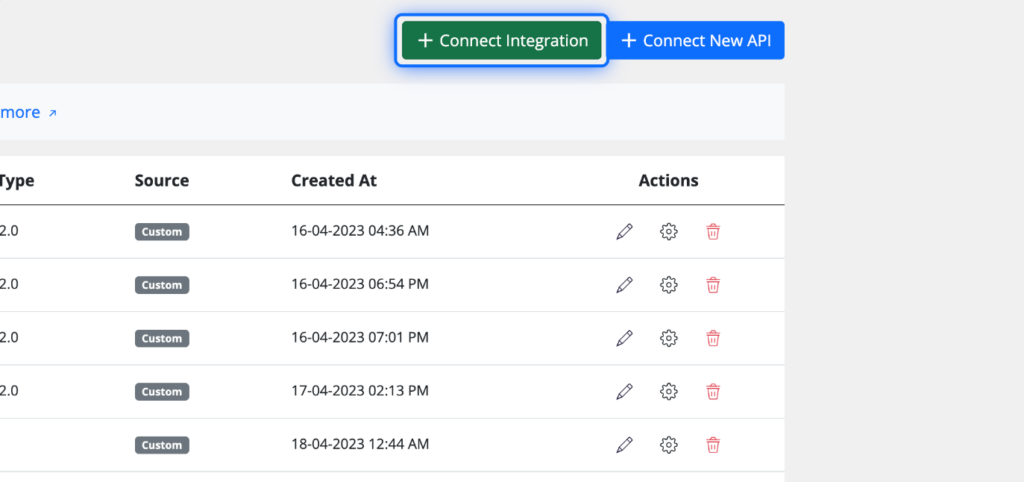
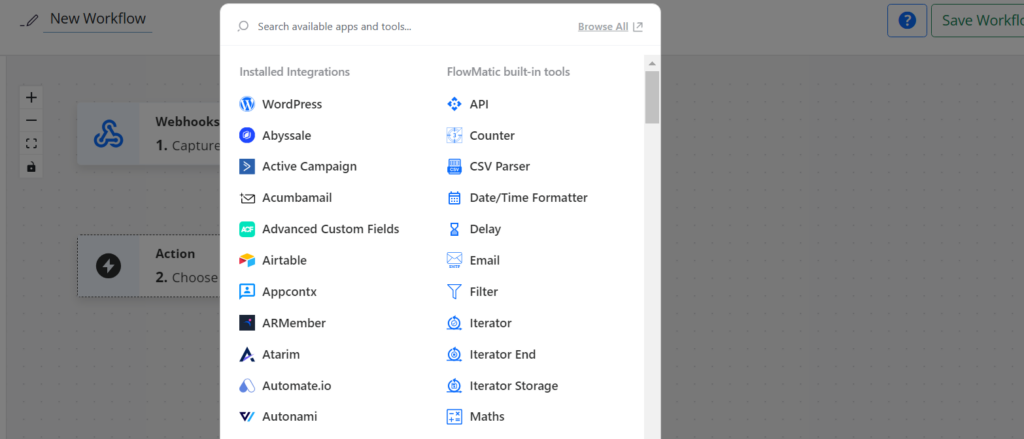
2. Click on Connect Integration
While you’re on the Connects admin screen, click on the Connect Integration button. It will open a popup and display all the apps available to be connected.
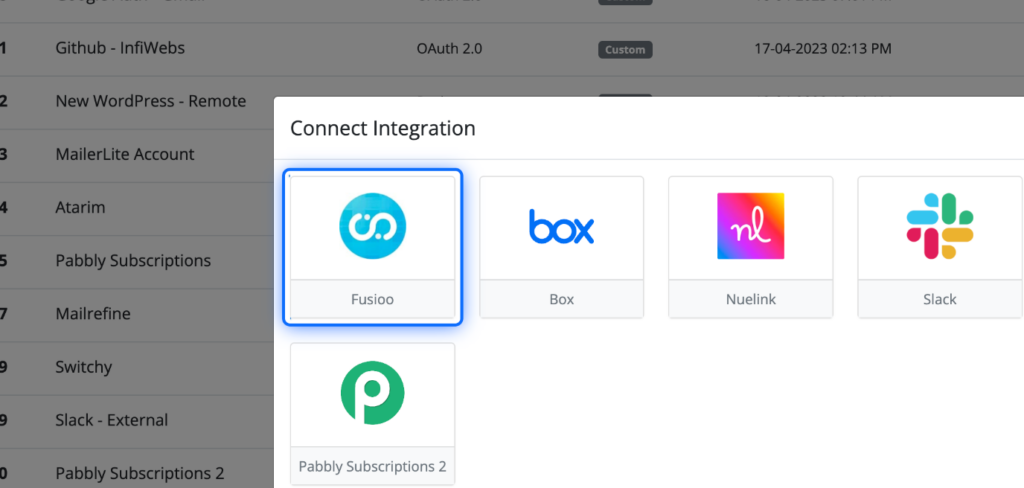
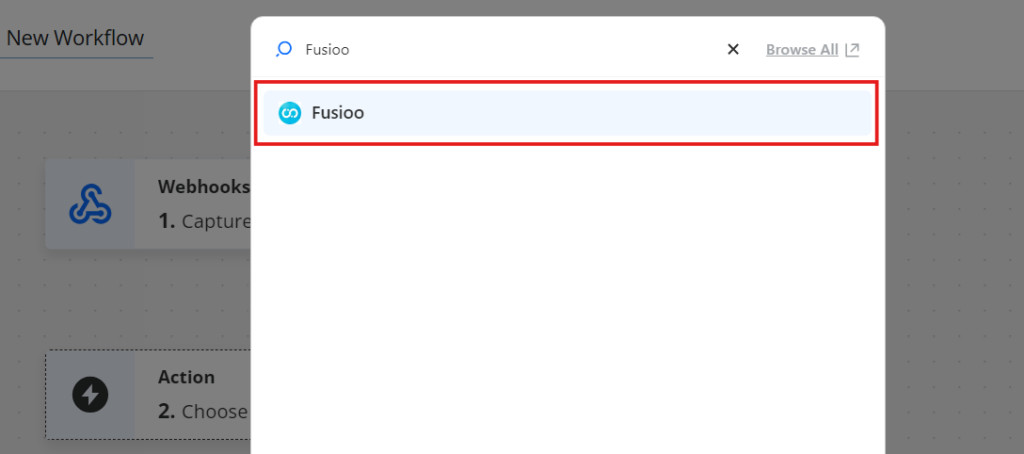
3. Click on Fusioo
Click on the Fusioo integration to connect and store your authentication details.
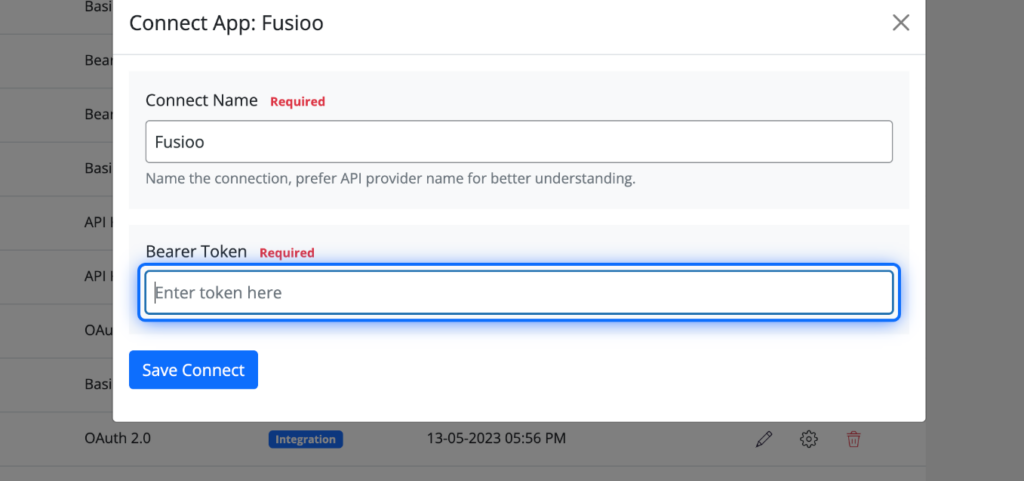
4. Give a suitable name and paste the Access Token
To get your Access token, follow these steps -
-
Go to the Integrations page on your workspace - https://app.fusioo.com/integrations
-
Switch to the tab “API Settings”
-
Create a new custom application by clicking on the “Add an Application” button.
-
Set the app to be private by checking the box.
-
Once an application is created, refresh the page, switch to the “API Settings” tab, and click on the link where it says click here to create access token - https://share.infiwebs.net/9Zuy8j8j
-
Your access token will be generated. Each time you click on the link, it will generate a new access token. Copy the generated access token and paste it in the Bearer Token field shown in the screenshot here:
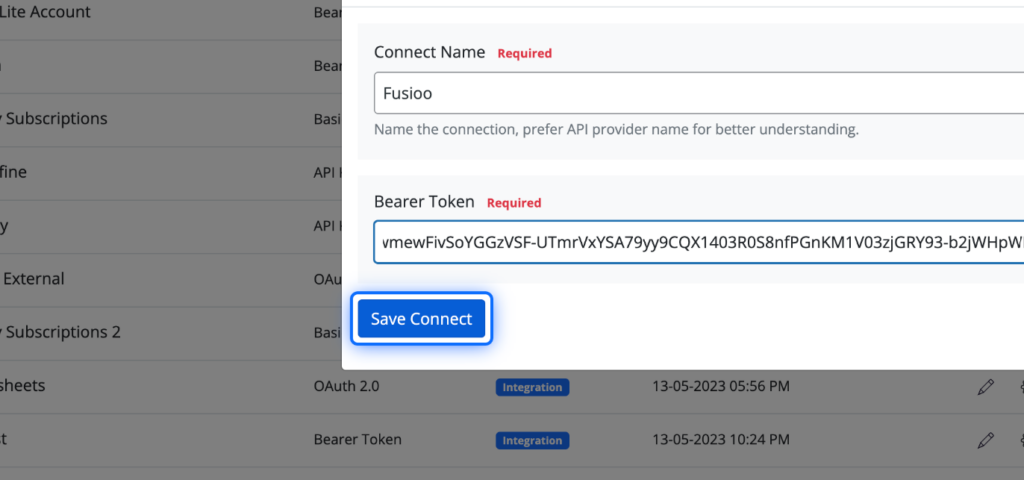
5. Click on Save Connect
Once you paste the access token, hit the “Save Connect” button, and a new connect will be created for you to use in the Fusioo integration or an API module if you want to use any additional APIs that are not yet covered by the integration.
Creating workflow with Fusioo integration
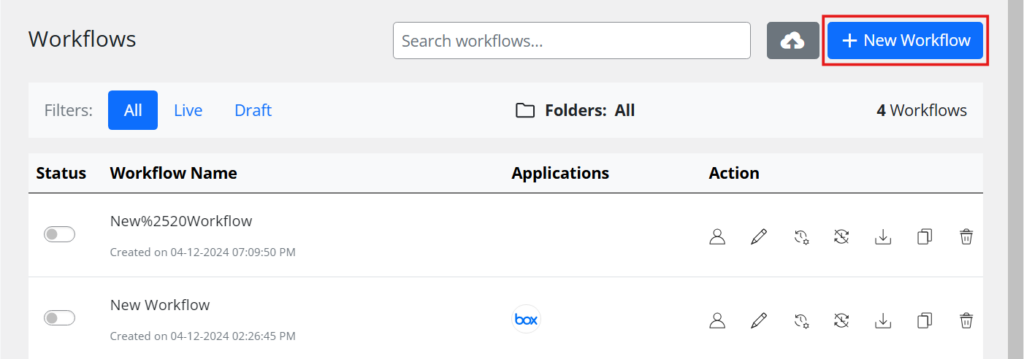
6. From the Workflows Screen, Click on New Workflow
In order to create a new workflow, click on the New Workflow button at the top on any admin screen.
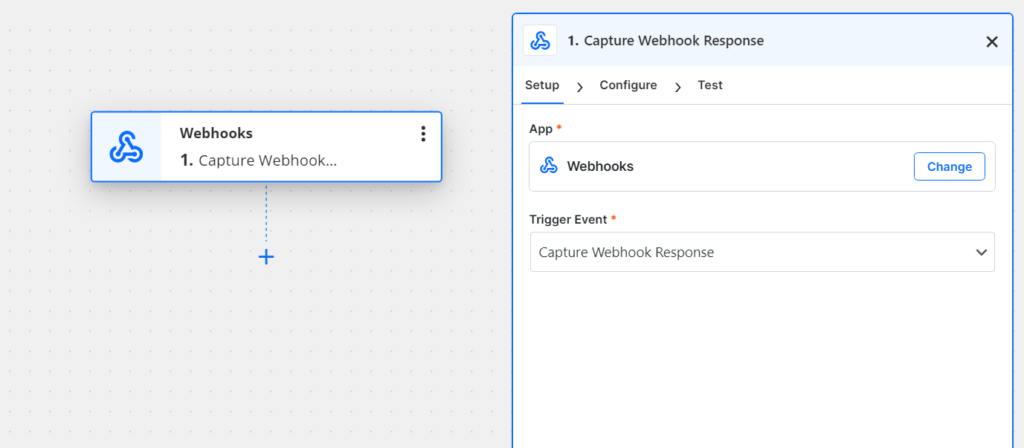
7. Configure the trigger to get data
Setup your trigger app first to get the data in your workflow. Eg. use webhook to receive data to trigger the workflow.
8. Setup the Fusioo Action
The next step is to set up the Fusioo action. Click on the + icon after the trigger step to add a new action step. This will display a list of available action apps for you to choose from.
9. Choose Fusioo Integration
Type in the search field to locate the Fusioo app and click it to set it up. This will set the app for this action step as Fusioo.
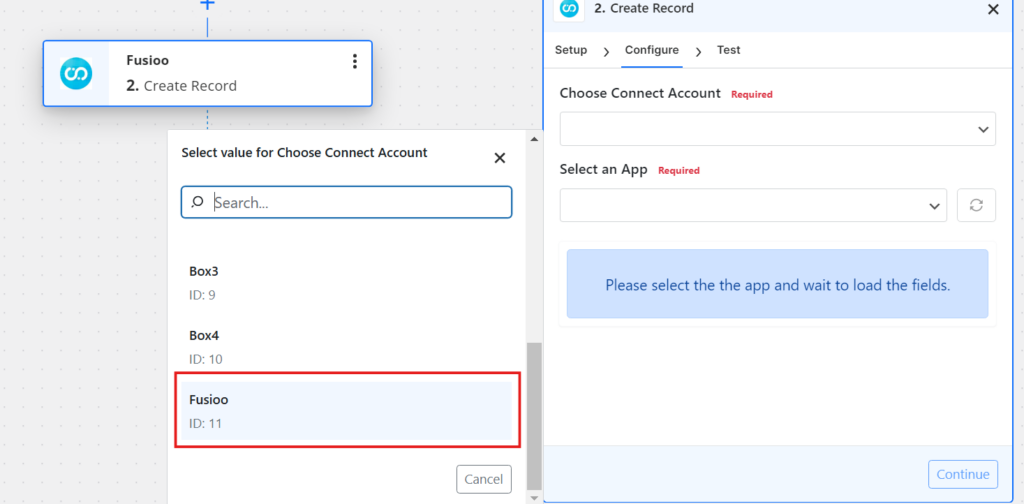
10. Choose the Connect
First thing we need to do is to choose the appropriate connect account we used to store the Fusioo access token. Click on the Choose Connect dropdown and search for that connect account.
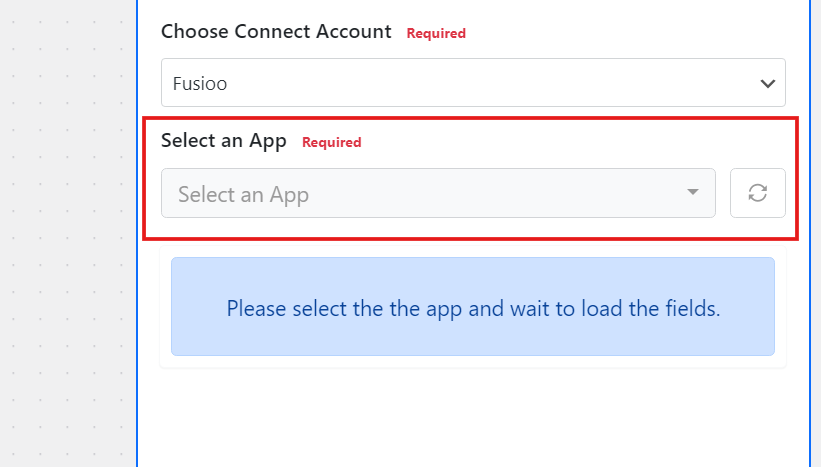
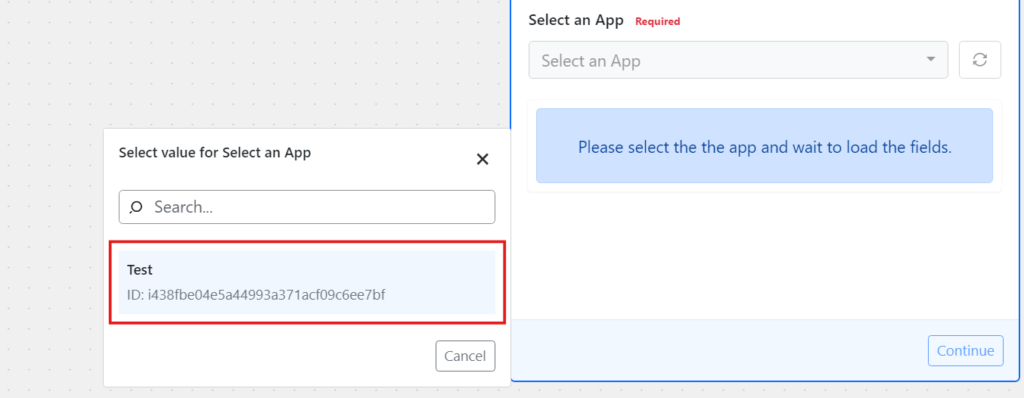
11. Selecting Fusioo App
Once you choose the connect account, FlowMattic will fetch the list of apps in your account using the Fusioo API. It will be listed in the dropdown. If for some reason, the app list is not auto populated, you can always sync it by clicking on the Sync button next to the dropdown.
12. Choose the App
Once the list of available apps is populated, you need to select the app you want to use for this action step. For different apps, you need to setup different action steps.
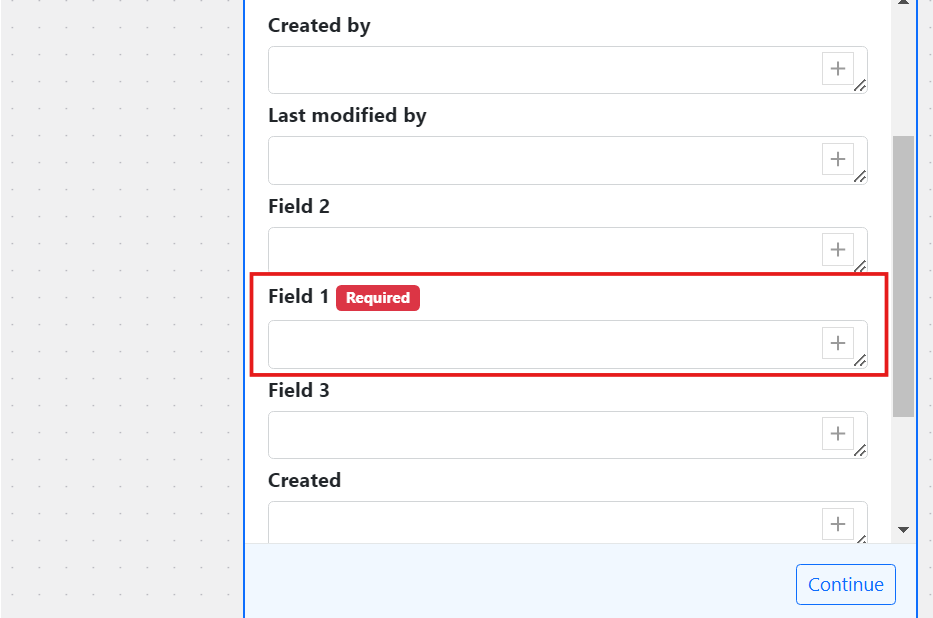
13. Map data for the fields
Once you choose the app, FlowMattic will fetch and display all the fields in your app database in Fusioo. Map the fields with the appropriate data you want to push to your Fusioo database. You can always change the mapping as per your requirements.
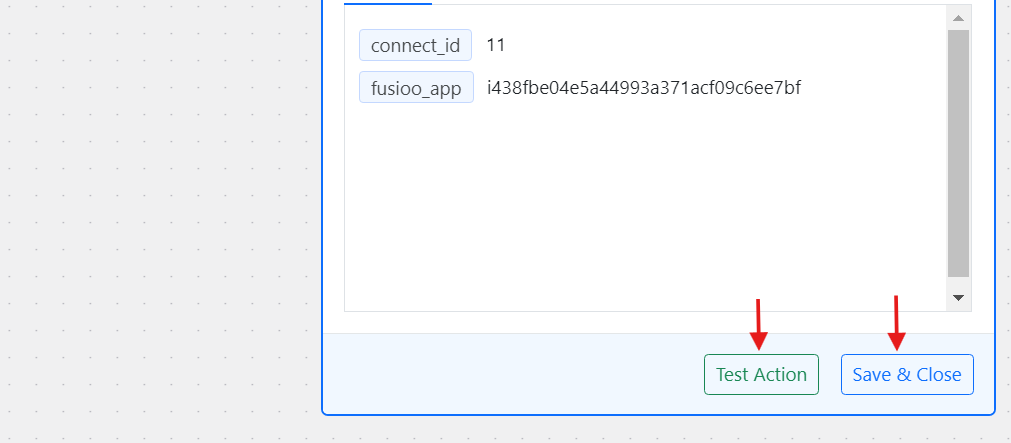
14. Text Action and Save & Close
After setting up the required options, click the “Test Action” button to perform a live test with the data you have entered. To confirm that the workflow is working, verify that the new post appears in your Nuelink collection. Then click “Save and Close.”